You might want to add specific remarks to the PNR. Remarks may require information given by the user making the booking, such as promo codes or special requests or the travel agent may just want to add a specific fixed text each time a booking is made. TTS WeBook Booking Engine supports both cases.
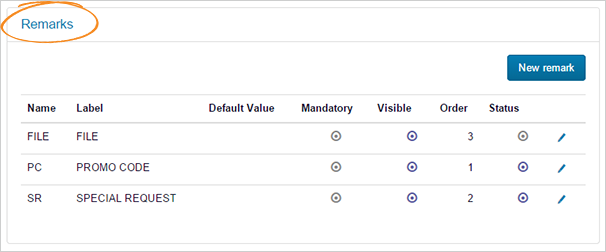
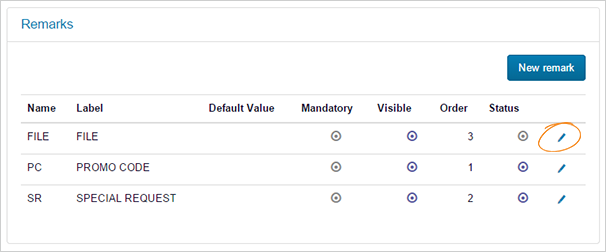
To add custom remarks to the PNR, go to the Settings page in your backoffice and scroll down until you find the "Remarks" block.
Create a Remark
To create a remark, click on the "New remark" button.
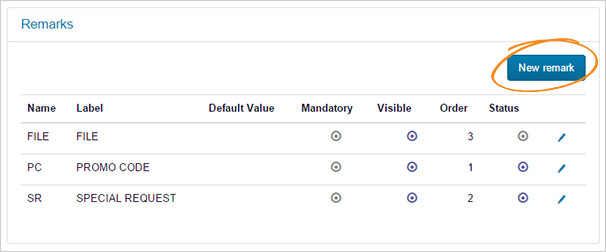
An overlay form will appear for you to fill in with your remark parameters.
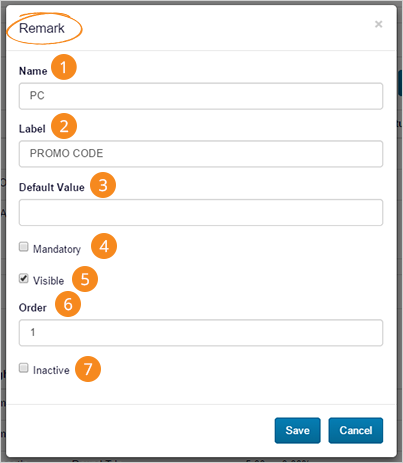
A remark is characterized by:
1. Name
The remark name that is sent to the GDS
2. Label
The label that is shown to the user in the booking page for him to fill-in.
3. Default Value
Default value is the string/text that is placed in the remark field by default and will be the text sent to the GDS if nothing is entered by the user so,
if the remark is visible to the user, the default value will appear in the remark respective text box and the user can change it to whatever he wants. In this case, travel agents might want to use this feature to give a hint to the user or show the format in which the information should be entered;
if the remark is not visible to the user, the default value will be the value that is sent to the PNR.
4. Mandatory
If this field is activated, the system will only close the booking if this field is filled in.
5. Visibility
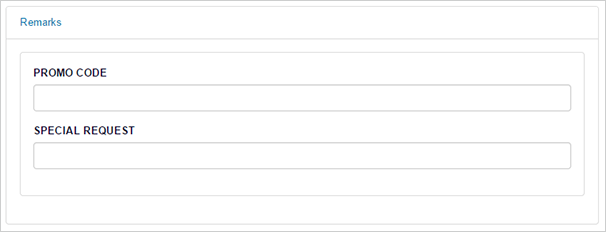
The remarks with this option activated will be added to the booking page. Travel agents should only activate this option if the remark requires information from the user.
The image below shows how visible remarks will appear in booking page.
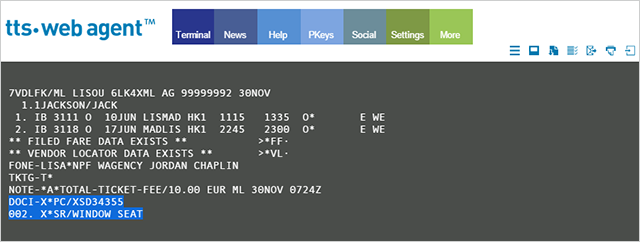
The remarks will be added to the PNR in the format you see below:
6. Order
Defines the order in which the remarks appear in the booking page and in the PNR.
7. Inactive
Allows the user to activate/deactivate a remark.
Edit a Remark
To edit a remark just click on the "pencil" icon of the remark you wish to edit, change the information you want to and click on "Save".
0 Comments